4 Reasons your Blog Images are Blurry & Grainy (and how to fix it)
Here are 4 ways to fix blurry or grainy blog images!
Today's post was inspired by a question I received from a blogger who’s taking my free photography course. She’s invested in a DSLR because she wanted high quality photos for when she travels. She usually shoots in auto but when she posts the images on Instagram and her blog they usually turn out blurry or grainy.
After hearing her question - I found four reasons why her photos are blurry or grainy. If you’re having this problem with your blog images - here are 4 questions you should ask so that you can start creating images that are crisp & in focus!
(I'm trying something new with this post - you can either watch or read my tips for creating crisp & clear blog photos!)
Here are four questions to ask if your blog images are blurry or grainy:
ONE :: Are you shooting in Auto or Manual focus?
If you’re shooting in Auto the images could be blurry because the camera isn’t focusing on the correct subject in the photo - it may be choosing to focus on the background which could leave the rest of your photo blurry.
I would start shooting in manual focus so you can control exactly what is in focus. You should be able to change this on the lens of your camera by switching the setting on your lens from AF to MF, and use the lens to adjust the focus!
TWO :: What file type are you shooting with on your DSLR?
You’ll either be shooting in JPG or RAW images. RAW files typically give you much higher quality images vs JPG, so if you’re using a small JPG file that could be why the images look blurry. If you have space on your camera card and computer, I would suggest switching to RAW so you have higher quality images to start with.
To switch from JPG to RAW on my Canon 5D Mark III, I go to: Menu > Quality > RAW. If you don’t see this on your camera - I would check your camera manual, or Google/Youtube your exact camera model to see where to change that setting.
THREE :: If your images are grainy - are you shooting with a high ISO?
The higher the ISO you shoot with, the more grain will be introduced into your images - which can detract from the quality of your image.
If you start using a higher ISO like 1600 or 3200 or higher that can add grain to your image and take away the quality. The higher your ISO capability on your camera, the higher you can go without introducing grain, but if you don’t have high ISO capabilities that may be why the quality is low.
My camera can go up to 25,600 ISO so I can shoot with a higher ISO without seeing grain, but I would check to see what your camera’s ISO capabilities are so you know what your limits are when it comes to grain.
FOUR :: Are you saving your image for web?
In Photoshop you can do this using Save for Web and in Lightroom you can use Export to save high quality JPG images. I like to use anywhere from 2000 - 5000p wide for Instagram so I can share higher quality images since the width doesn’t necessarily matter. Or you can size the images to fit your blog width at the highest recommend size your blog platform recommends.
I hope these four tips help you on your next fashion or lifestyle blog shoot and if you want to take your blog's photography to the next level - you can sign up for my free photography course for bloggers called Shooting with Confidence!
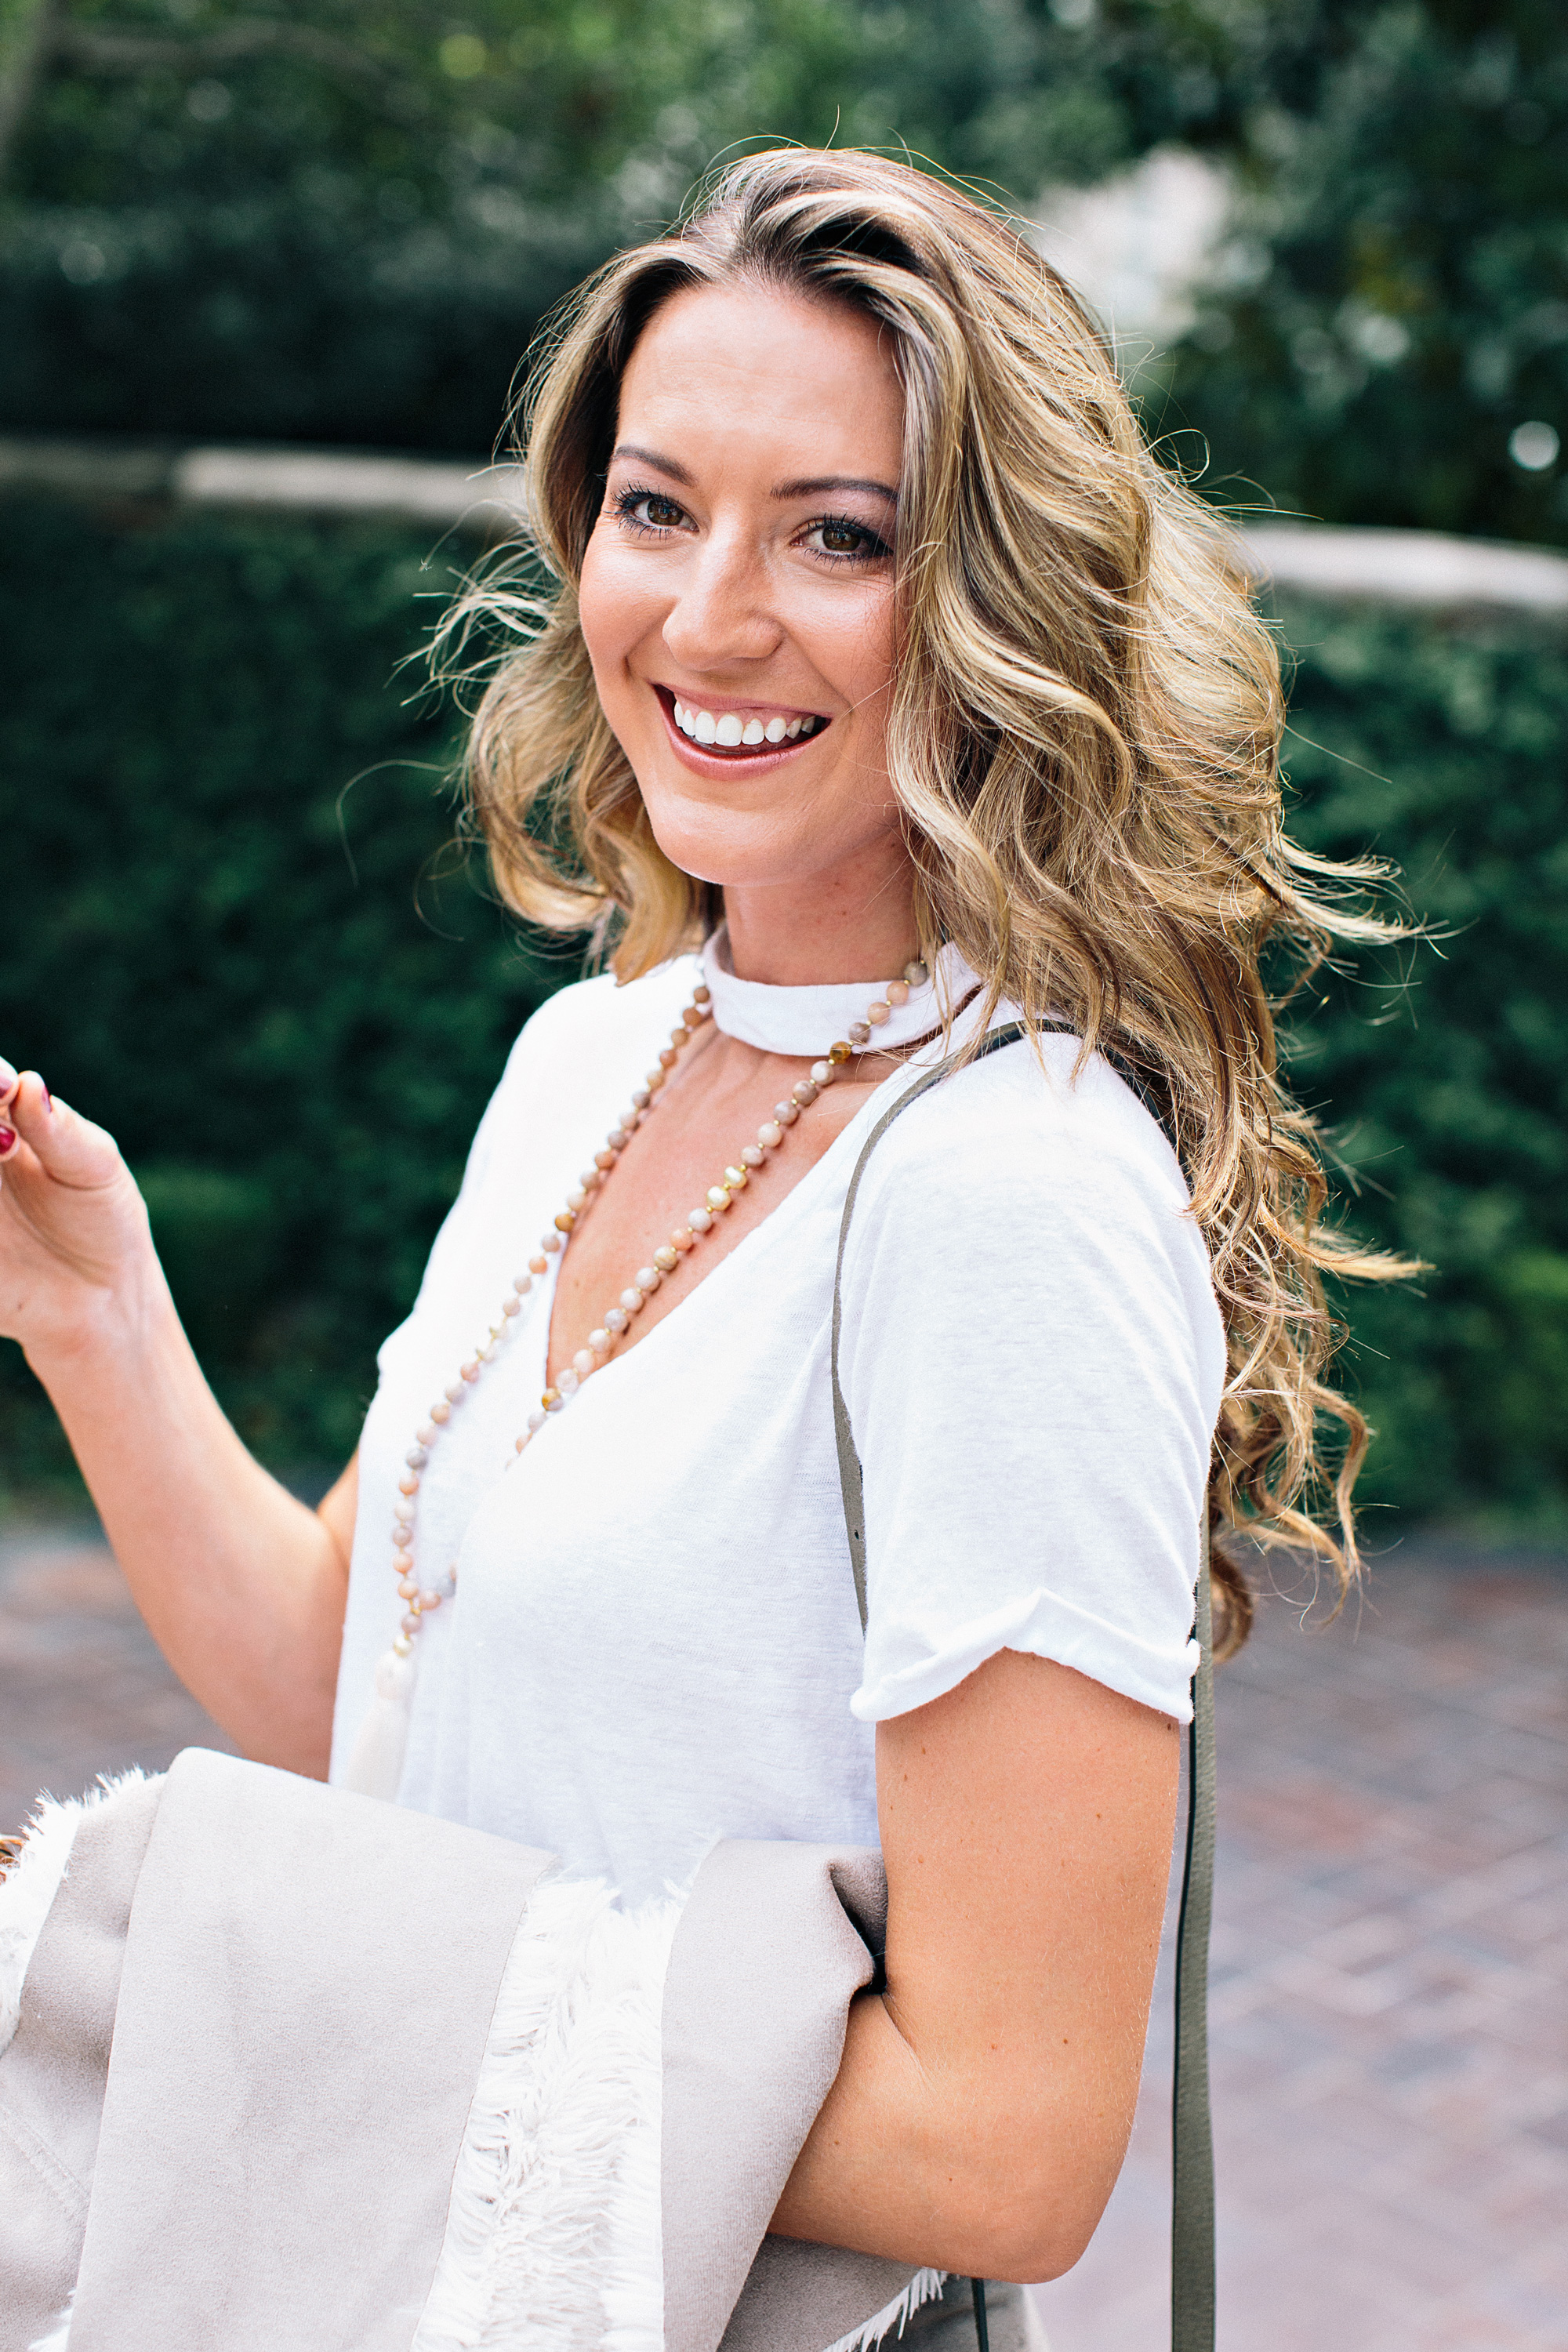
This was from my recent shoot with the lovely & talented health blogger Ciara of Veiled Free!


